Laboratory Automation with PyVISA
Applying Python and PyVISA to Automated Testing
open laptop
P

ython has become a widely used programming language in the area of electronic test automation, especially when used with the PyVISA library. While the fundamental principles of lab automation have been around for a long time (i.e., the SCPI protocol), Python and PyVISA have made it easy to get started quickly with test automation. Once data has been collected, Python also has a plethora of data analysis tools (pandas, scipy, scikit, etc.) that are useful in analyzing data.

In this article, I will introduce how to interface with instruments using Python/PyVISA and give a practical example of measuring power supply efficiency. Finally, I will introduce how to plot gathered efficiency data directly in Python.

SCPI Protocol
The Standard Commands for Programmable Instruments (SCPI) is a definition layer on top of the IEEE 488.2-1987 standard for instrument communication. While SCPI was originally meant for IEEE 488.1 (GPIB connections), this has expanded to include RS-232, Ethernet, USB, and several others. SCPI commands are sent in ASCII format and received as a string of ASCII text. Here is an example of a simple SCPI transaction:
Python code
SCPI defines a number of generic commands like MEASure and CONFigure, which can be used to read data from or configure parameters on test equipment.
VISA Specification
Unfortunately for the SCPI standard, different operating systems, interfaces, and devices meant that the early days of SCPI required different libraries for each device and bus system. In order to alleviate this pain, the Virtual Instrument Software Architecture (VISA) specification was created to seamlessly work with all devices and bus systems.
Python and PyVISA
Even with the VISA specification in place, it has traditionally been challenging to interface a host computer to measurement devices without expensive/cumbersome software and hardware. With these drawbacks in mind, the PyVISA library was created to simplify instrument communication and make lab automation more efficient.
Python itself is a free, interpreted programming language that can be used with any modern operating system. Since this is an interpreted (and not compiled) language, Python can generally be “installed” on any system, even where the user does not have admin/root access. While the syntax of Python can take some getting used to (spaces are used as delimiters instead of ; or other characters), it is a very widely used language with many libraries, examples, and code snippets available.

PyVISA works as a front end to the VISA library and simplifies the process of communicating with instruments. PyVISA is officially tested against National Instruments’ VISA and Keysight IO Library Suite and can be used with hardware adapters from National Instruments, Keysight, and many others.

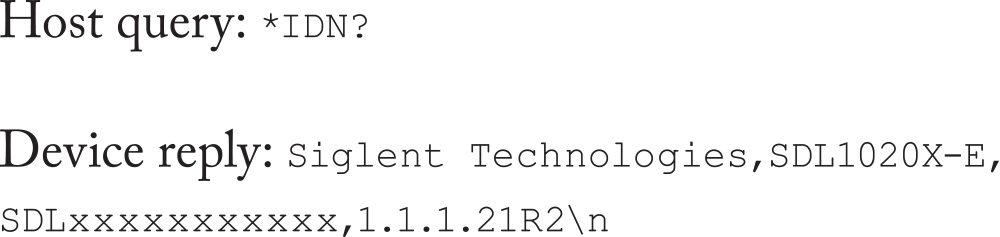
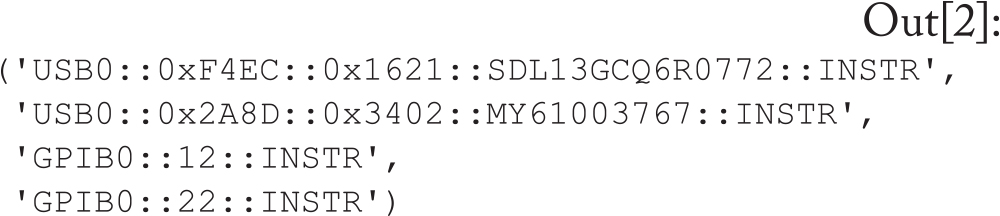
To get started, here is a simple program that queries what instruments are visible to PyVISA on my computer. In the below code snippet, I am using National Instruments VISA on a 64-bit Windows computer running Python 3.11.5 and PyVISA 1.13.0

Python code
equation
This output shows there are four instruments connected to my computer, two connected by USB and two by GPIB. Now we can create an object for each instrument and query what it is. Note that all instruments will reply to the special *IDN? Command:
Python code
From the query, you can see I have a Keysight power supply (E35234A) and a Siglent power supply (SDL1020X-E). For the following example, I am using the Siglent power supply only to read the input and output voltages of the device under test (DUT).
Measuring Efficiency
For a power supply, efficiency is the measure of how much power you get out per unit of power put in. Since P = VI, this can be written as:
equation
As this equation gives a fraction less than 1, it is customary to multiply by 100 and express efficiency as a percentage.
Power Supply Setup
For the following test, I am using a 720 W adjustable DC-DC power supply from DROK (shown in Figure 1). For the purpose of this example efficiency test, I am using a constant input voltage of 25 V with a fixed output of 12 V. Note there is a large fan near the North side of the board which turns on when the power supply is under heavy load. We will see the effects of this fan in the full efficiency characteristic.
Drok 720 W Adjustable DC Power Supply
Figure 1: Drok 720 W Adjustable DC Power Supply
Practical Efficiency Measurements
In order to measure the efficiency of a DC-DC power supply, we must apply a source voltage vs and a load current iLOAD. The voltage source is a DC voltage and the load current is an electronic load running in the constant current mode. We step up the load current and measure the efficiency at various load points to create a full plot showing the efficiency characteristic of the power supply.

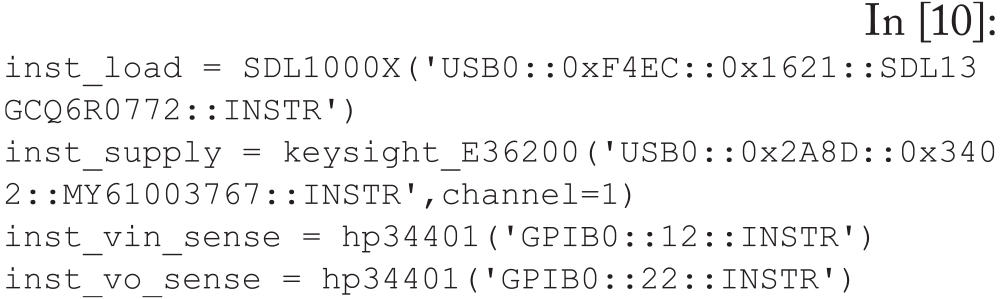
Since each measurement requires four values (input voltage, input current, output voltage, and output current), we need sufficient equipment to read all these parameters. In practice, it is beneficial to measure the input and output voltage on separate meters as close to the DUT as possible.

For current measurements, reading the current directly from the voltage source (for input current) and the electronic load (for output current) are generally close enough when using modern, calibrated equipment.

Practical instrumentation of power supply for efficiency measurements
Figure 2: Practical instrumentation of power supply for efficiency measurements
Instrument Objects for Efficient Data Collection
We can use the tools available in Python to create an object for each piece of equipment and create a standard list of methods that our instruments will use. As an example, we can make a read_v() method for all of our instrument objects to read the voltage value. At the top level, we just see the method instrument.read_v(), but this actually maps to the specific SCPI commands for our instrument and returns data that Python can read.

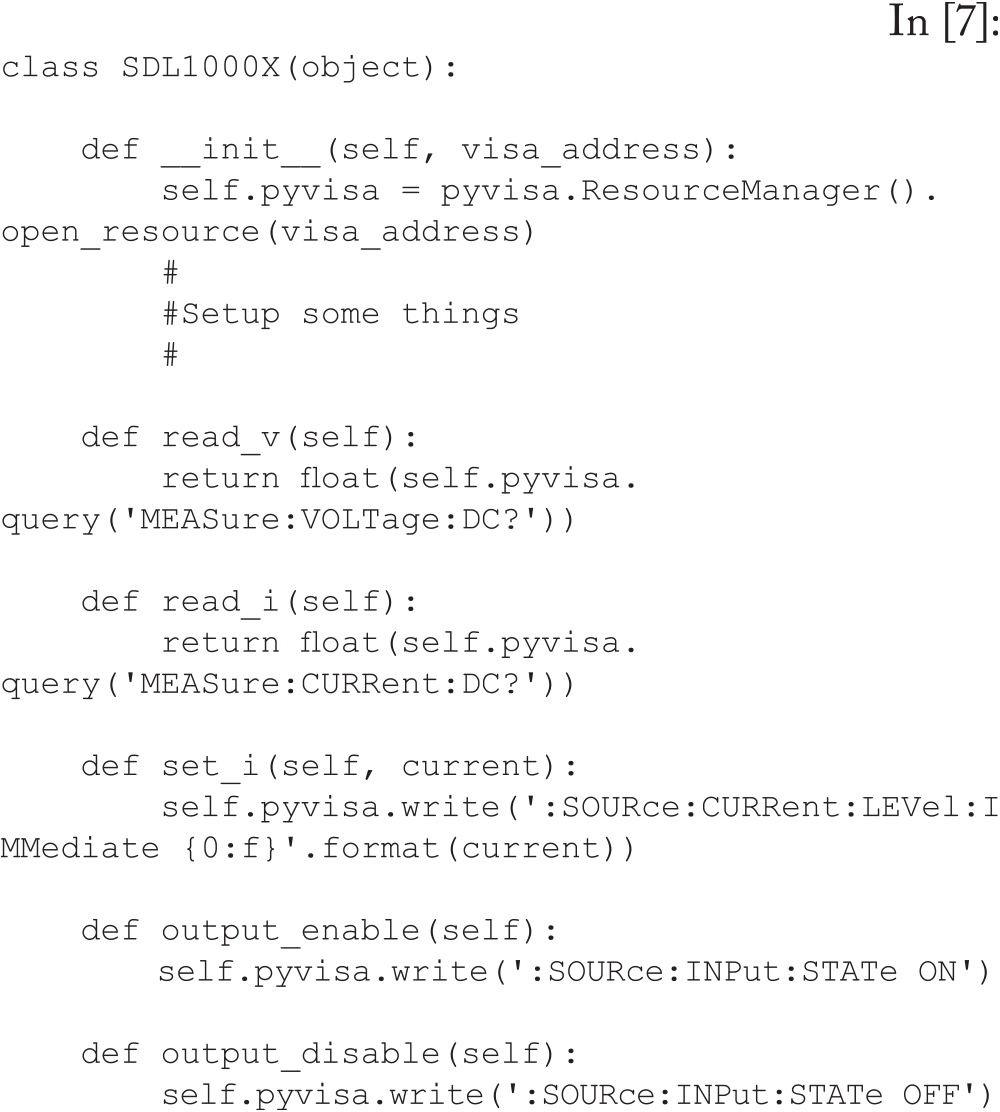
For this test, we will need four instrument objects, though the voltage measurements will be instances of the same object with different addresses (same meter, different GPIB address).

Python code
Python code
Python code
We also need to import a few libraries which will be helpful for this test:
Python code
Then, create an object for each instrument with a descriptive name:
Python code
We now have objects for the four instruments we are using to measure efficiency, and each instrument has high-level methods with descriptive names. Note again that the actual SCPI commands sent to each object are very different, but the intended data (like measuring current) returns the appropriate data for Python.
Calibrate Input Voltage
The wire connecting from the power supply to the DUT has a finite impedance, and when the input current increases (due to increasing load current), the input voltage seen at the input of the DUT will decrease. In order to compensate for this effect, we can directly measure the voltage right at the DUT and increase/decrease the supply voltage to stay within a certain bound (in this case, 10mV).
Python code
Cooldown
When using the calibration function above and at very high load currents, it is possible that the input voltage will be so high that it could electrically overstress (EOS) the device we are testing. To avoid this, we can create a simple “cooldown” loop that decreases the load and lowers the supply voltage slowly down to a safe voltage:
Python code
Initial Setup
Next, we need to set up the loads point we will use for our test and set the remaining parameters. All test data will be stored in a Pandas DataFrame object which will be useful for plotting and exporting to .csv later on.
Python code
Loop Through Currents
The main loop works as follows:

  1. Set the next load current value on the electronic load;
  2. Wait for the current to stabilize;
  3. Calibrate the input voltage (right at the DUT) to keep this close to the supply voltage value;
  4. Read all meters and calculate efficiency;
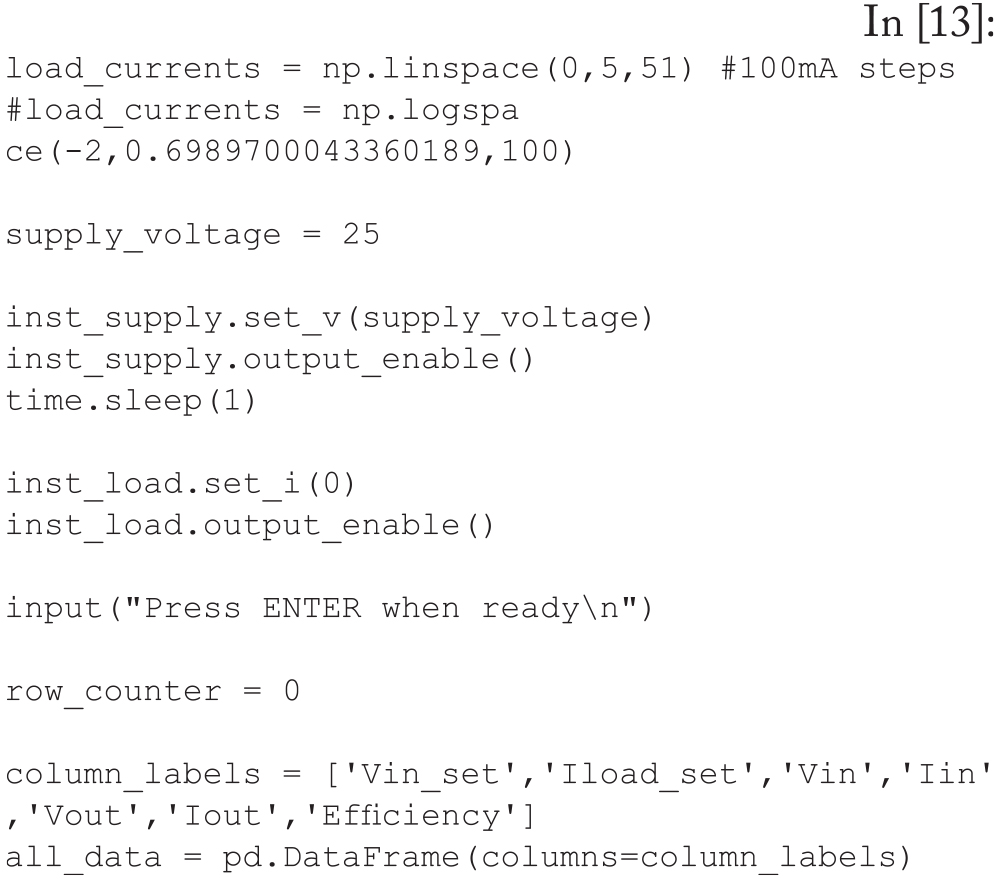
  5. Store all read data as a new row in the all_ data DataFrame; and
  6. Increment the row counter and continue to the next load value.
Python code
Cooldown and Save Data
Once the loop is complete, cooldown in 10 steps and save the all_data DataFrame to a .csv file (with a timestamp that guarantees all data files are unique):
Python code
Plot data inline
Since the entire all_data DataFrame still exists in memory, we can easily plot this using matplotlib:
Python code
Python code
Note that there is a large dip in efficiency when the load current is near 2 A. This is the point where the fan on the DC-DC converter turns on and causes a noticeable kink in the efficiency characteristic.
Plot With Log X Axis
Similarly, we can change the X axis to logarithmic scale, which tends to show a smooth curve when plotting efficiency:
Python code
Python plot of efficiency vs. load current
Figure 3: Python plot of efficiency vs. load current
Plot of efficiency vs. load current with a logarithmic X axis
Figure 4: Plot of efficiency vs. load current with a logarithmic X axis
Summary
Using Python and the PyVISA library, we have created instrument objects and a simple program to tabulate the efficiency of a DC power supply. We have also used the plotting tools in Python to create graphs of efficiency for this test.

With the basic program in place, it is possible to modify this program to add features, including:

  • Loop through different input voltages;
  • Change the tested currents;
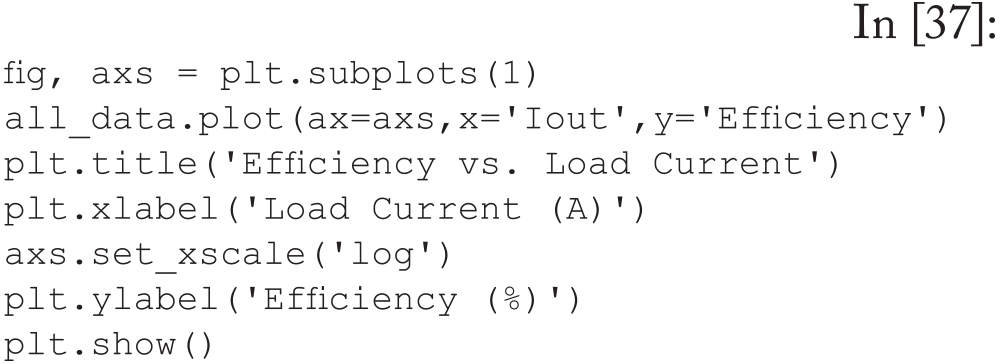
  • Save plot data as image or pdf files; and
  • Save data as a Word document or PowerPoint slides.
Share this story:
headshot of Dr. Zachary Nosker
Dr. Zachary Nosker is an assistant professor of Engineering Technology at California State University Maritime Academy in Vallejo, CA. He also has 15 years of industry experience working in IC design and applications roles in various semiconductor companies. Nosker can be reached at znosker@csum.edu.